How to Guide
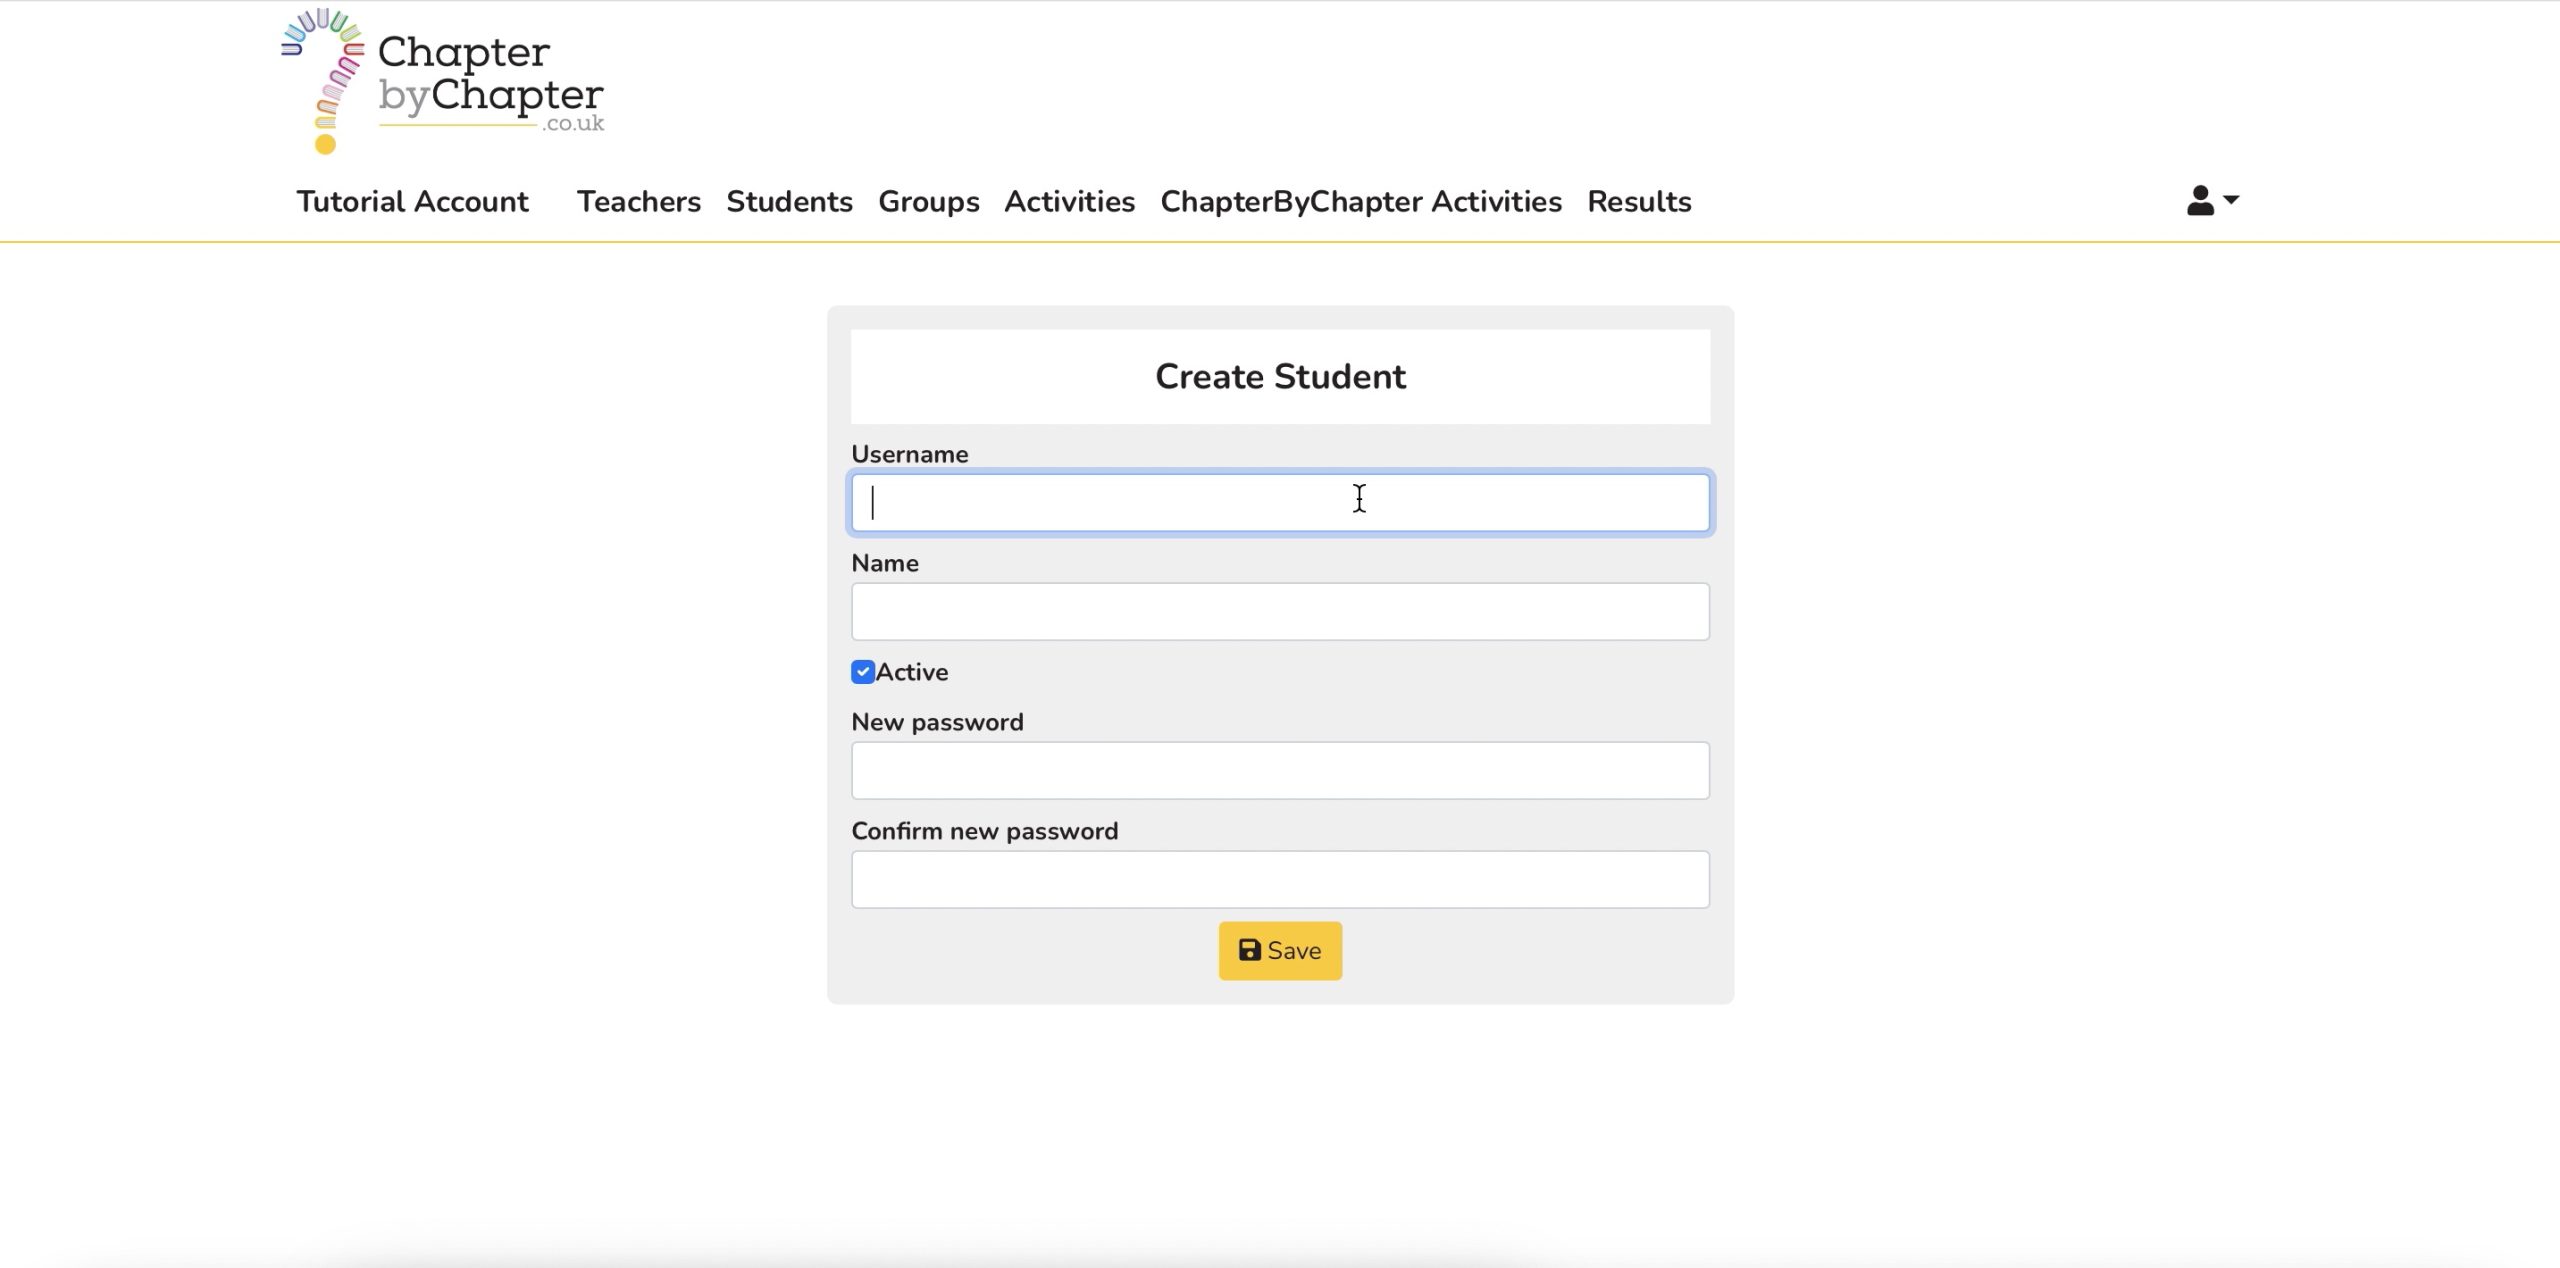
How to: Add a student
Step 1
In this video clip, you will learn how to add a new student to your account.You have already added your teacher account by signing up so you don’t click ‘Teachers’ as this is for a whole school account. You simply click ‘Students’ and add their details in.
This should be the first thing you do after joining.
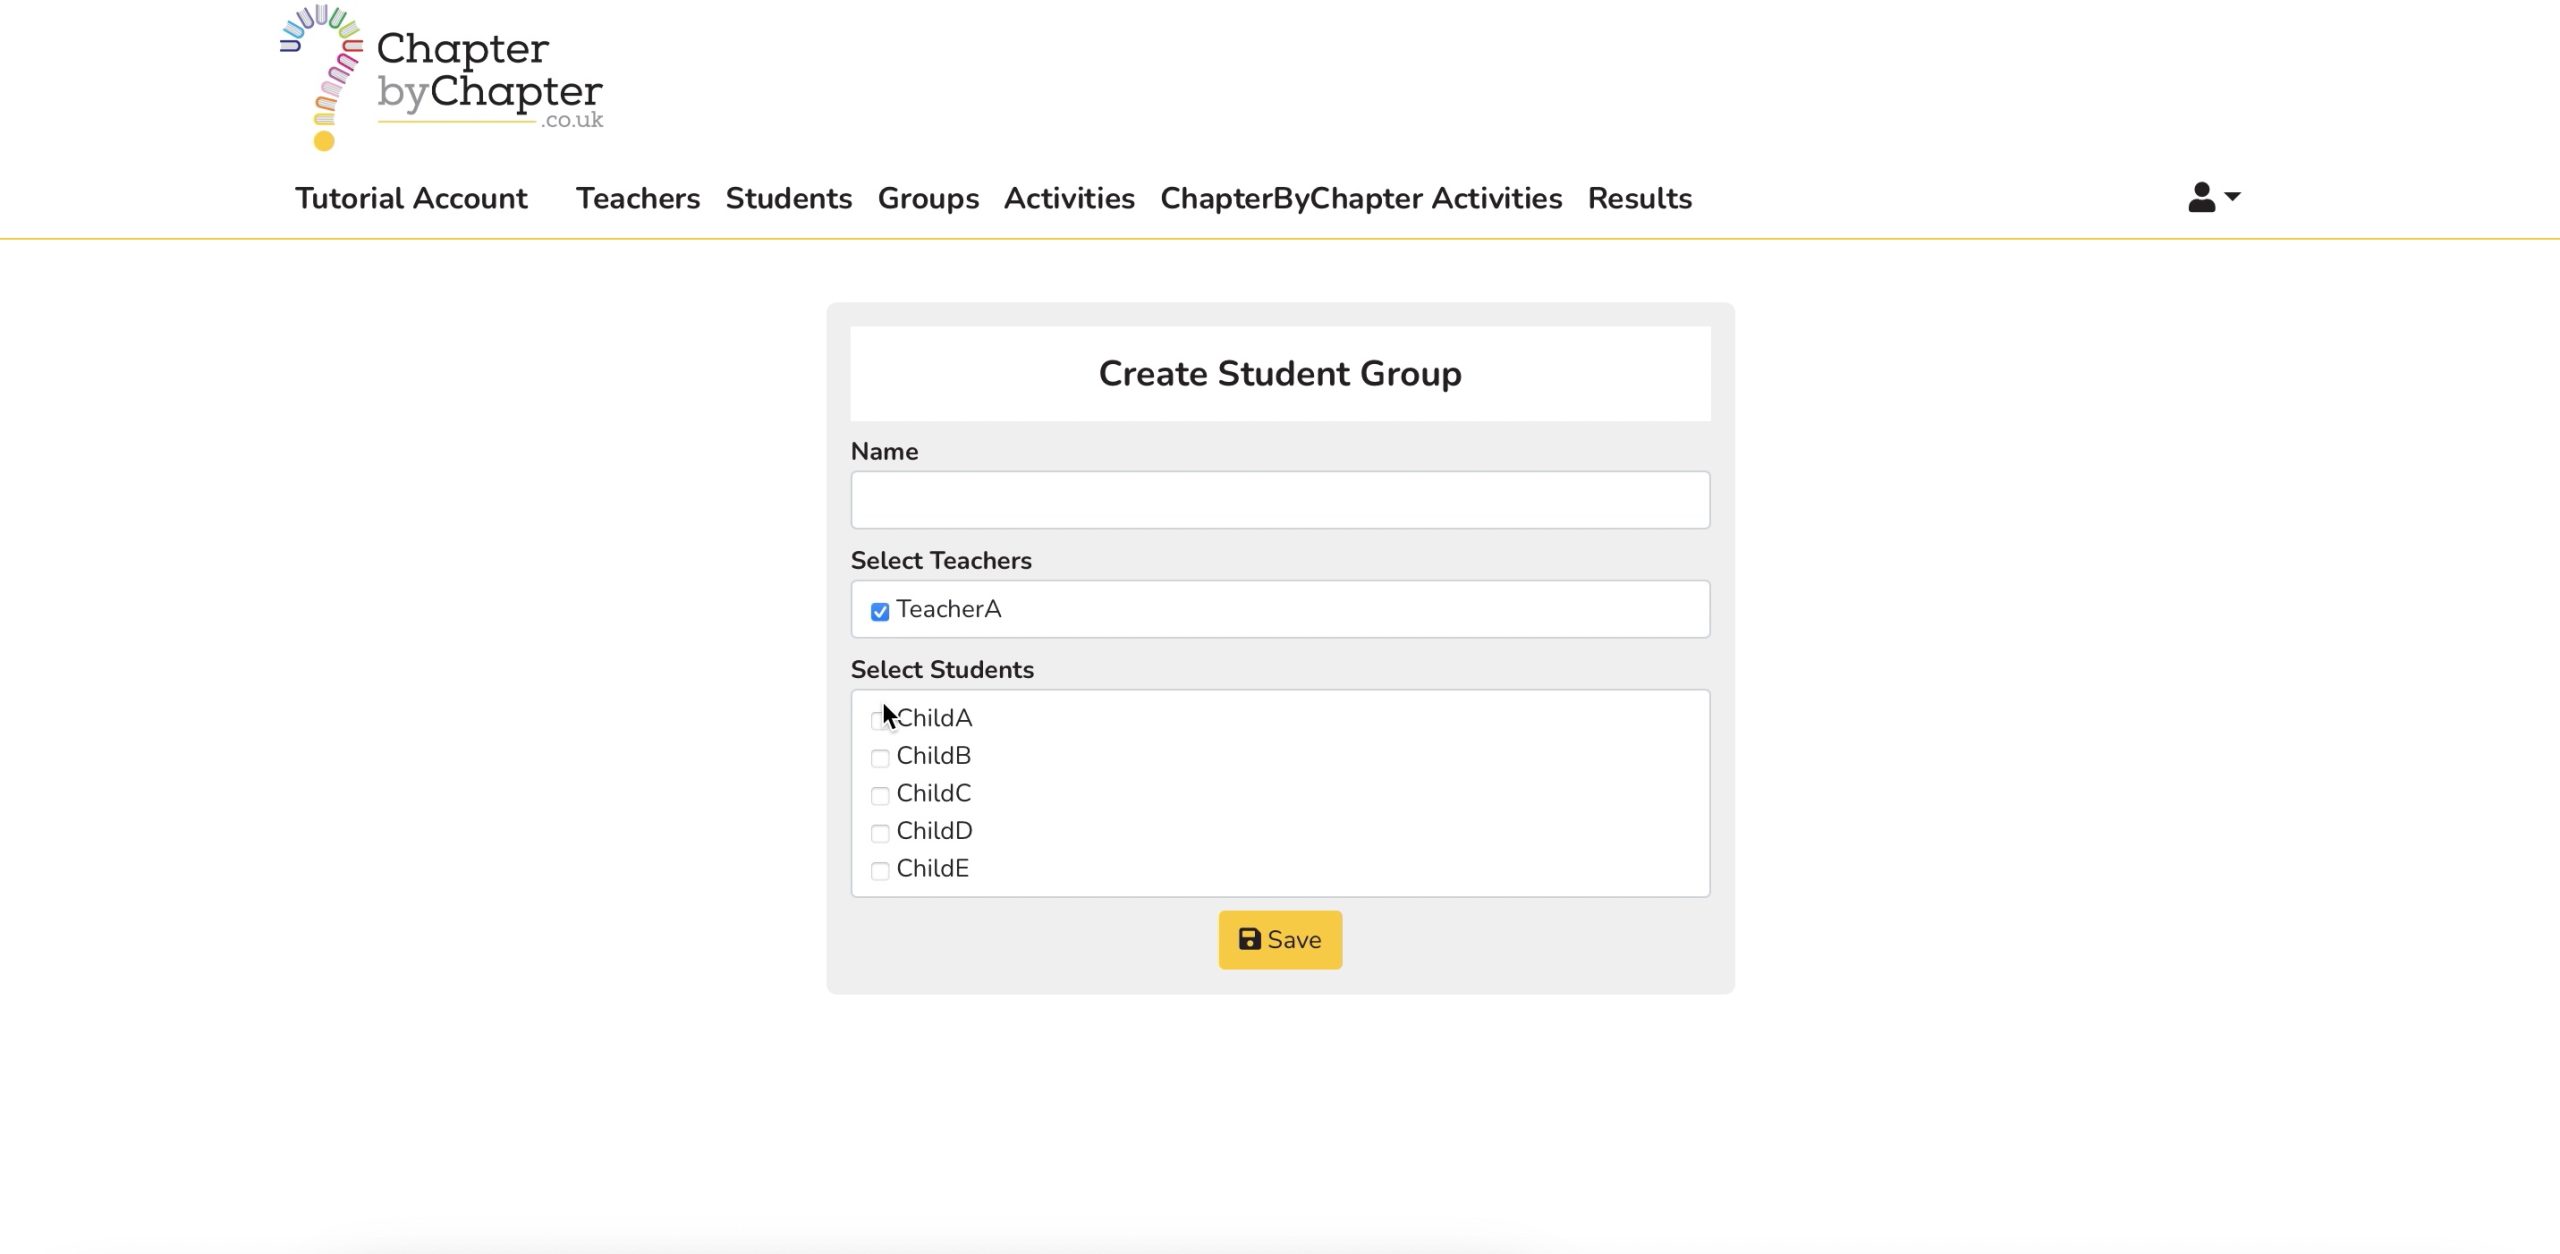
How to: Add a class
Step 2
In this video clip, you will learn how to add your class to your account. You must have added students and a teacher before doing this part.
You can add a teacher by logging in and clicking ‘Teachers’ and ‘+’.
You can also add specific groups in this sections too. E.g. Group 1, Group 2 etc. This is better for assigning different books to different groups.
This is important as it saves time choosing individual children each time to assign a question set.
How to: Assign questions for a book
Step 3
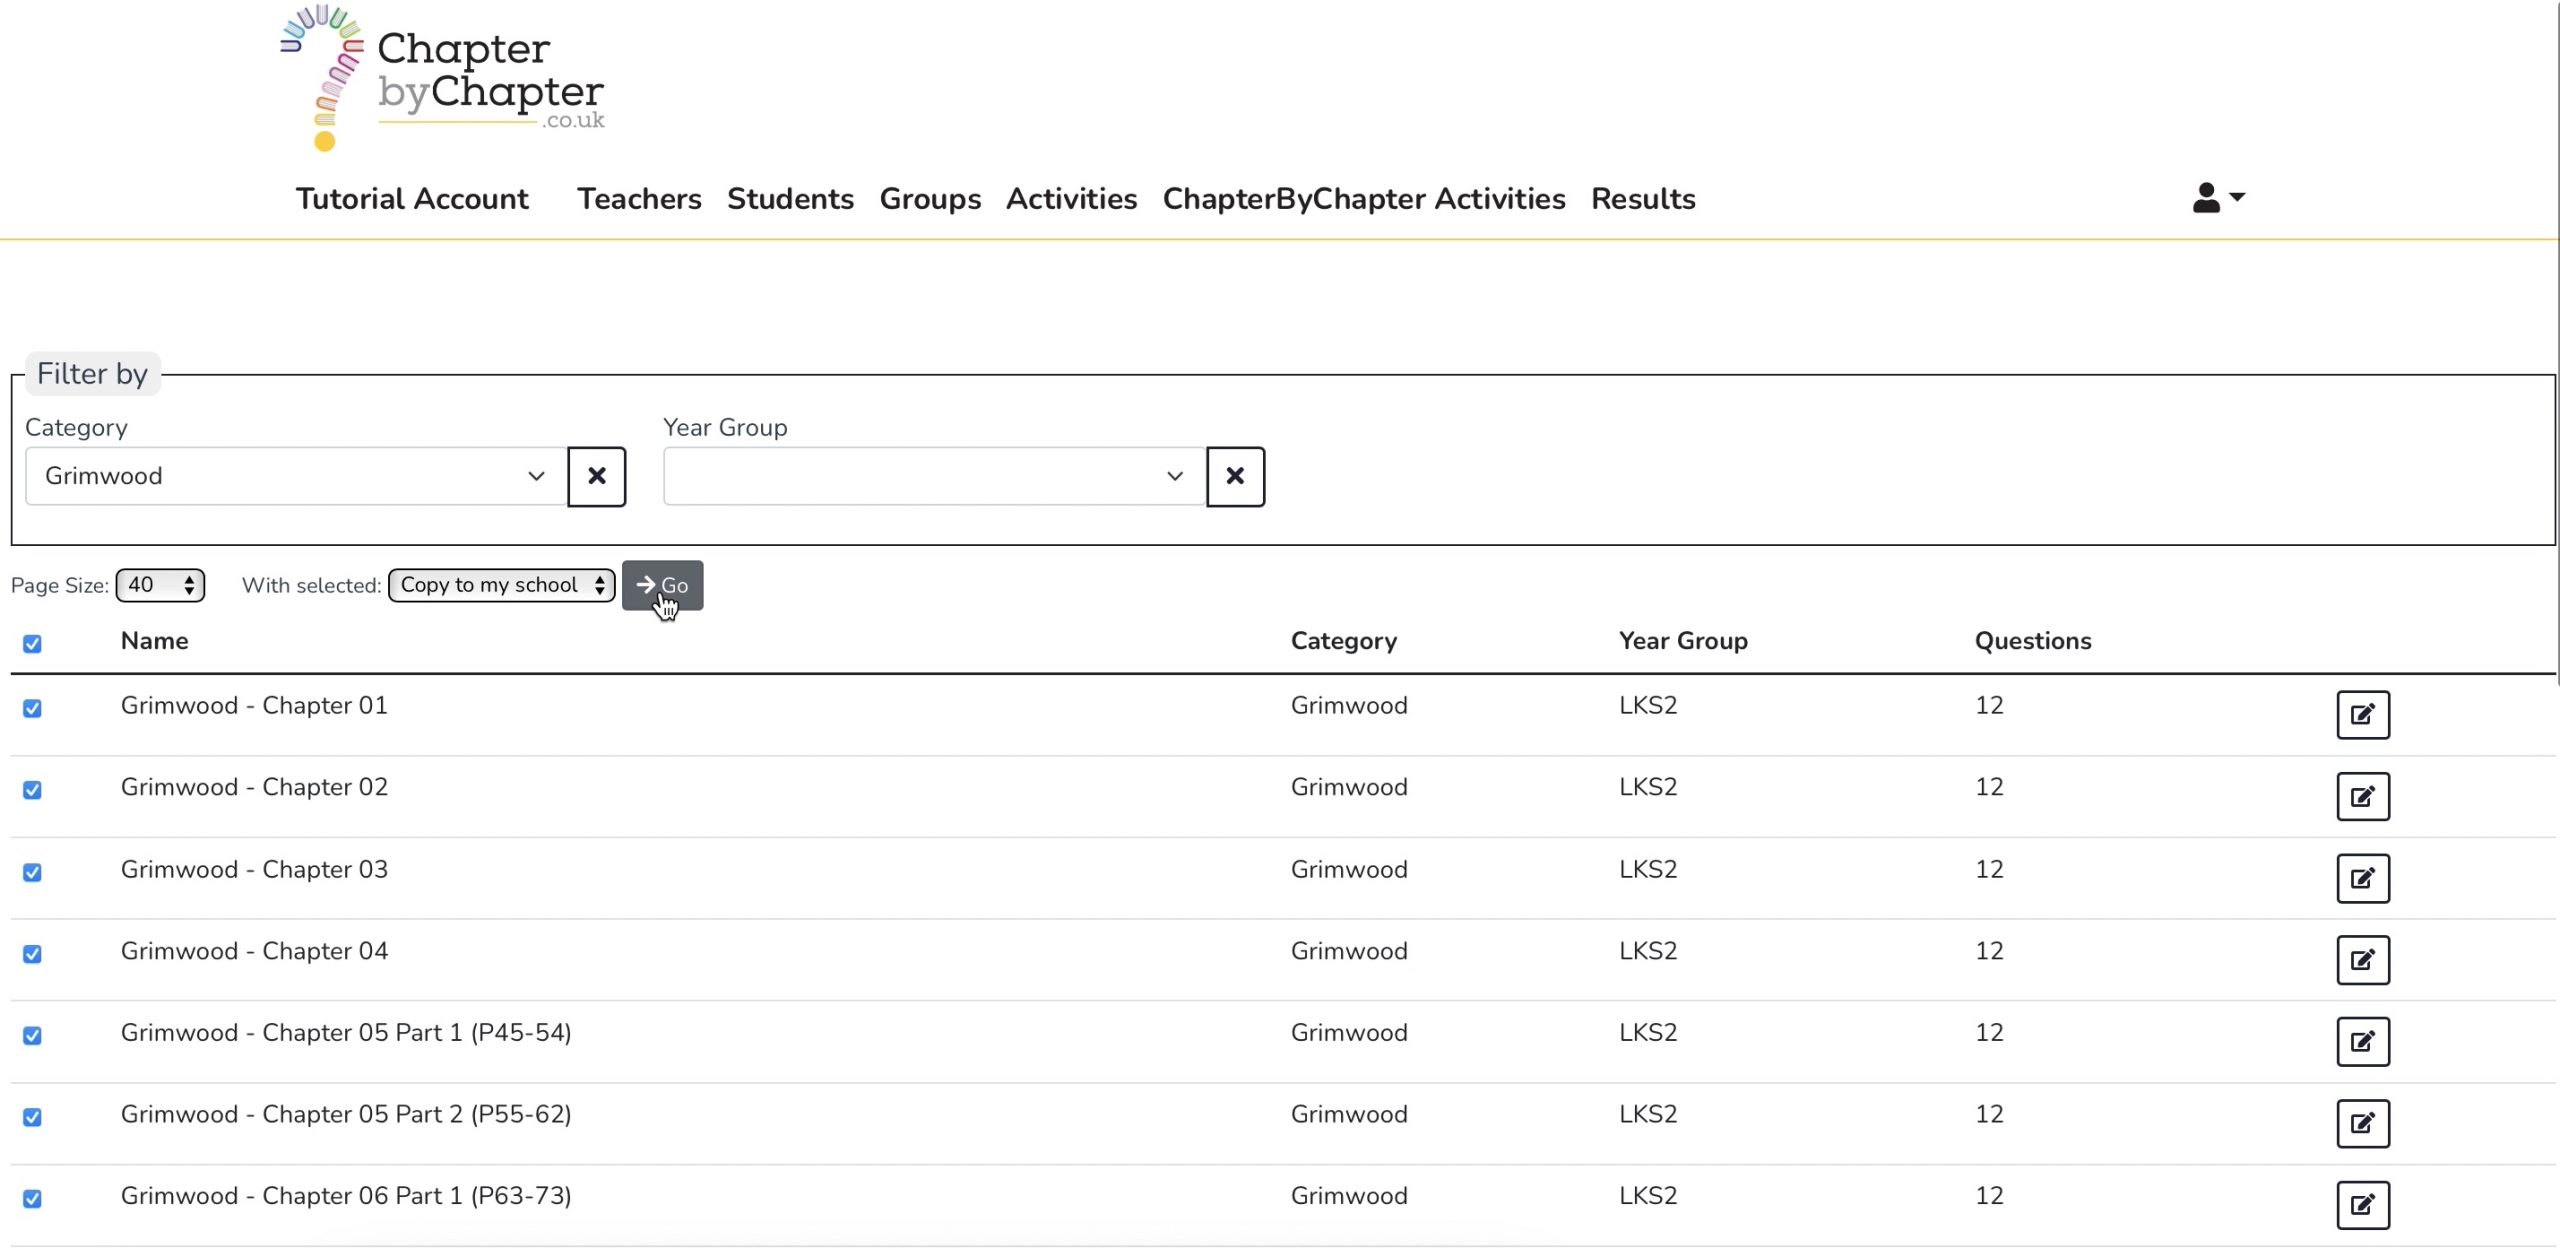
In this video clip, you will learn how to choose a book and assign questions for chapters.
In this example, we have selected all chapters in the book. You can choose as many or as few chapter questions as you like.
How to: View specific questions
Step 4
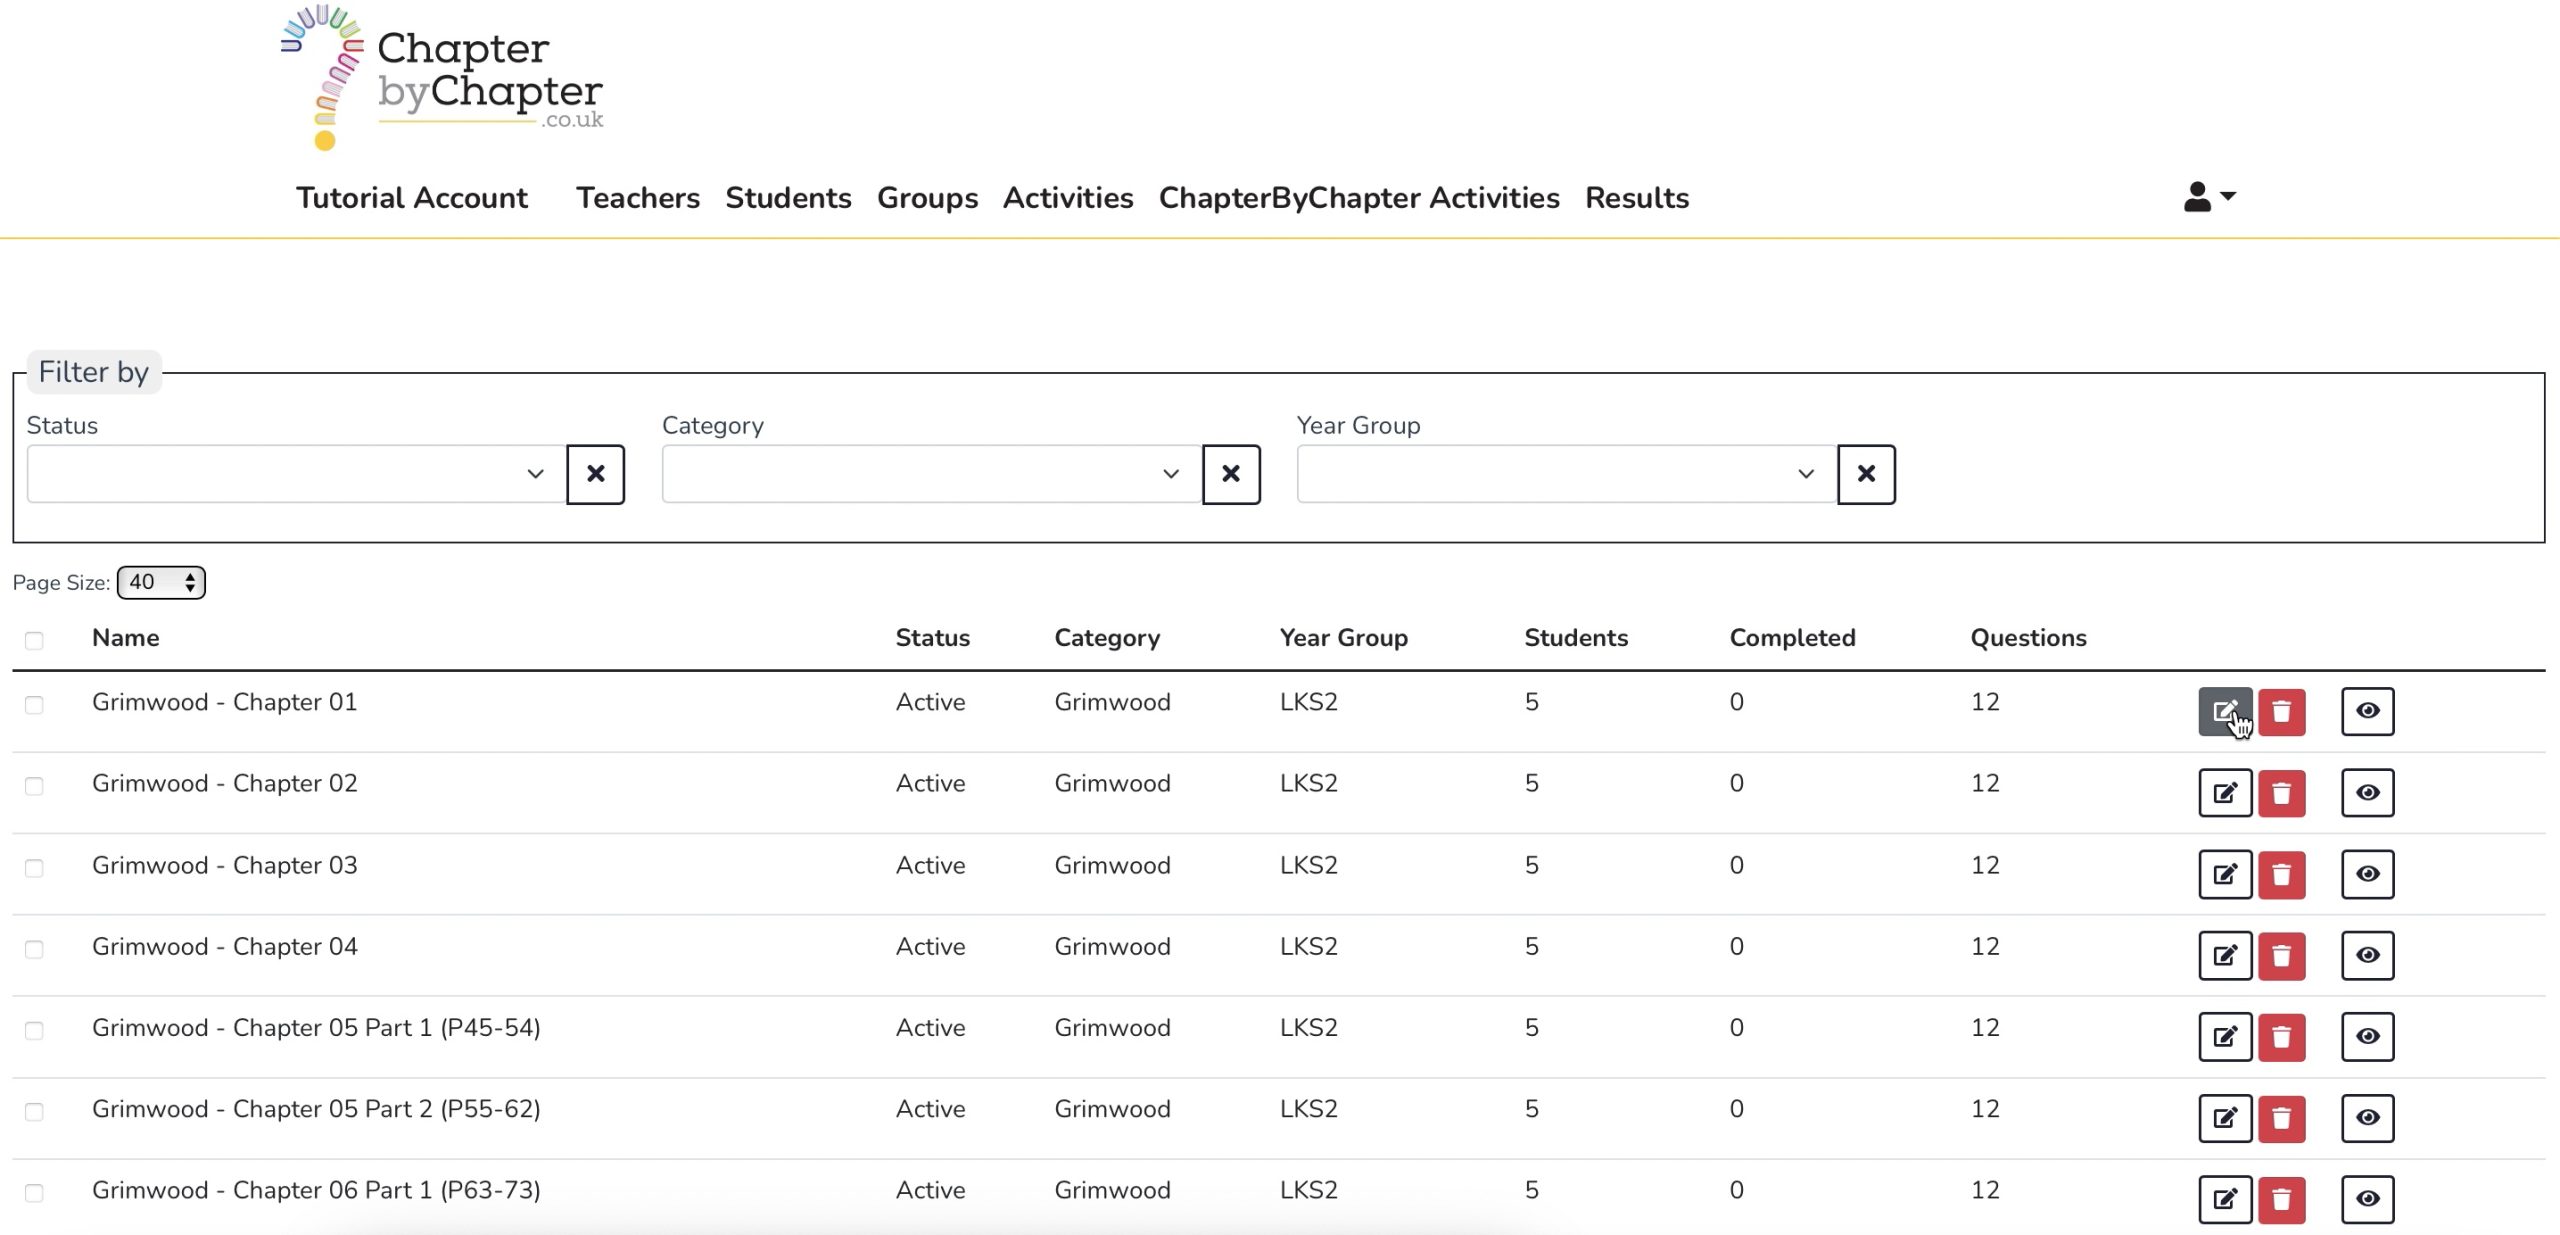
In this video clip, you will learn how to view specific questions in a book / chapter prior to assigning them to your class.
How to: View results
Step 5
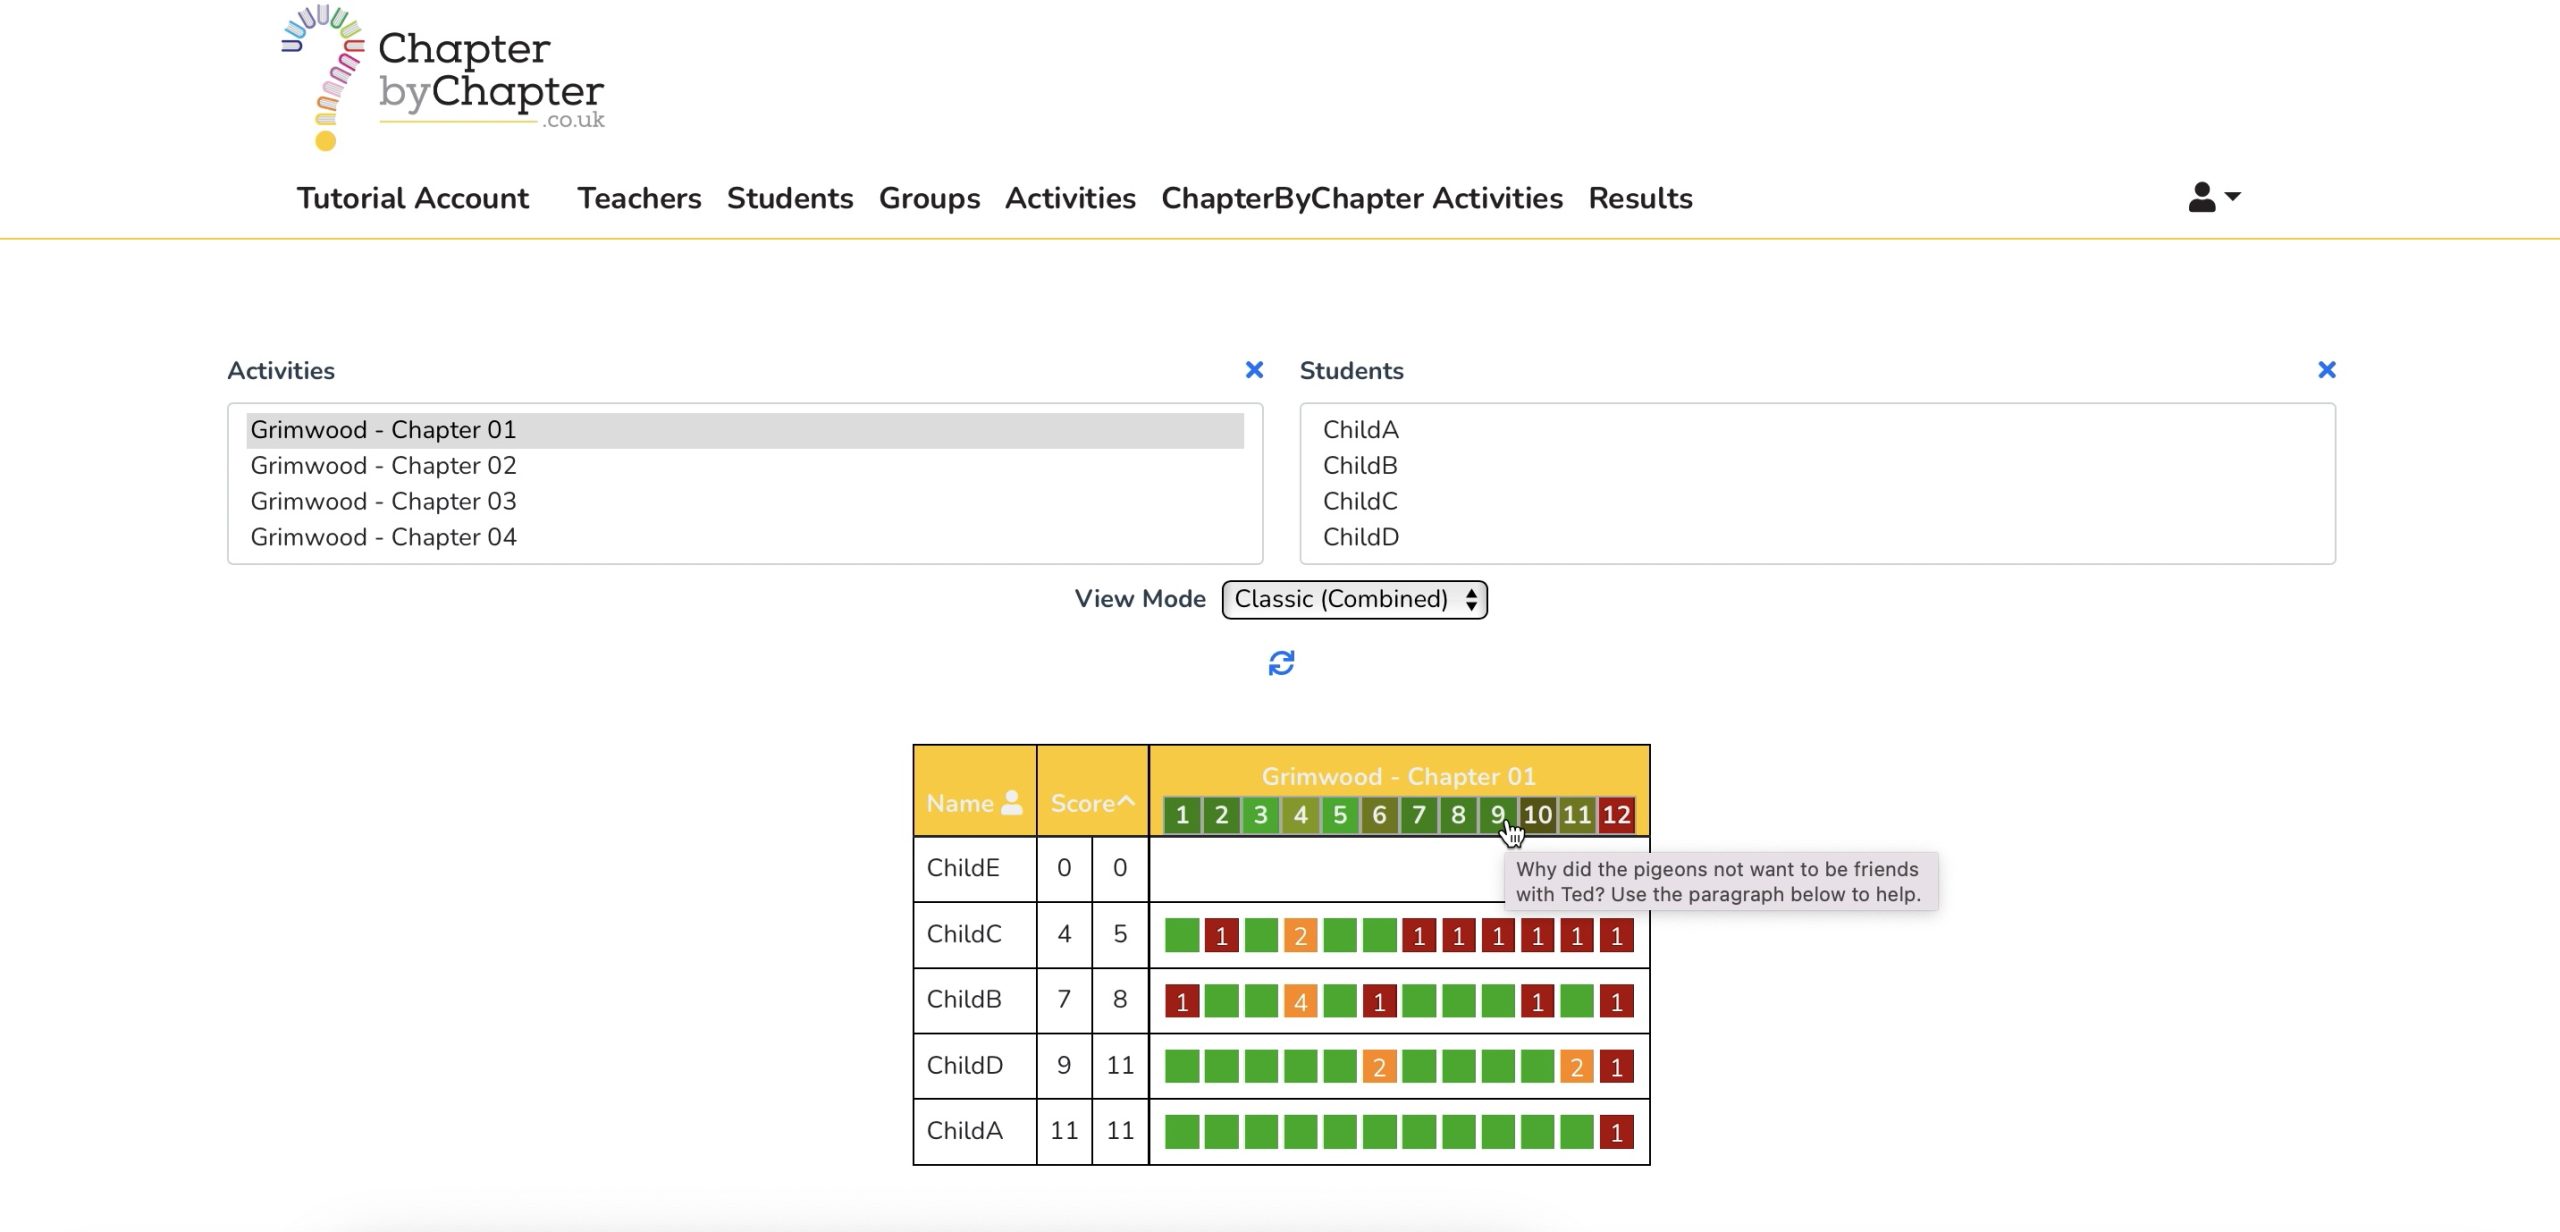
In this video clip, you will learn how to view the results once your class have completed their questions.
You can also select multiple chapters by highlighting.
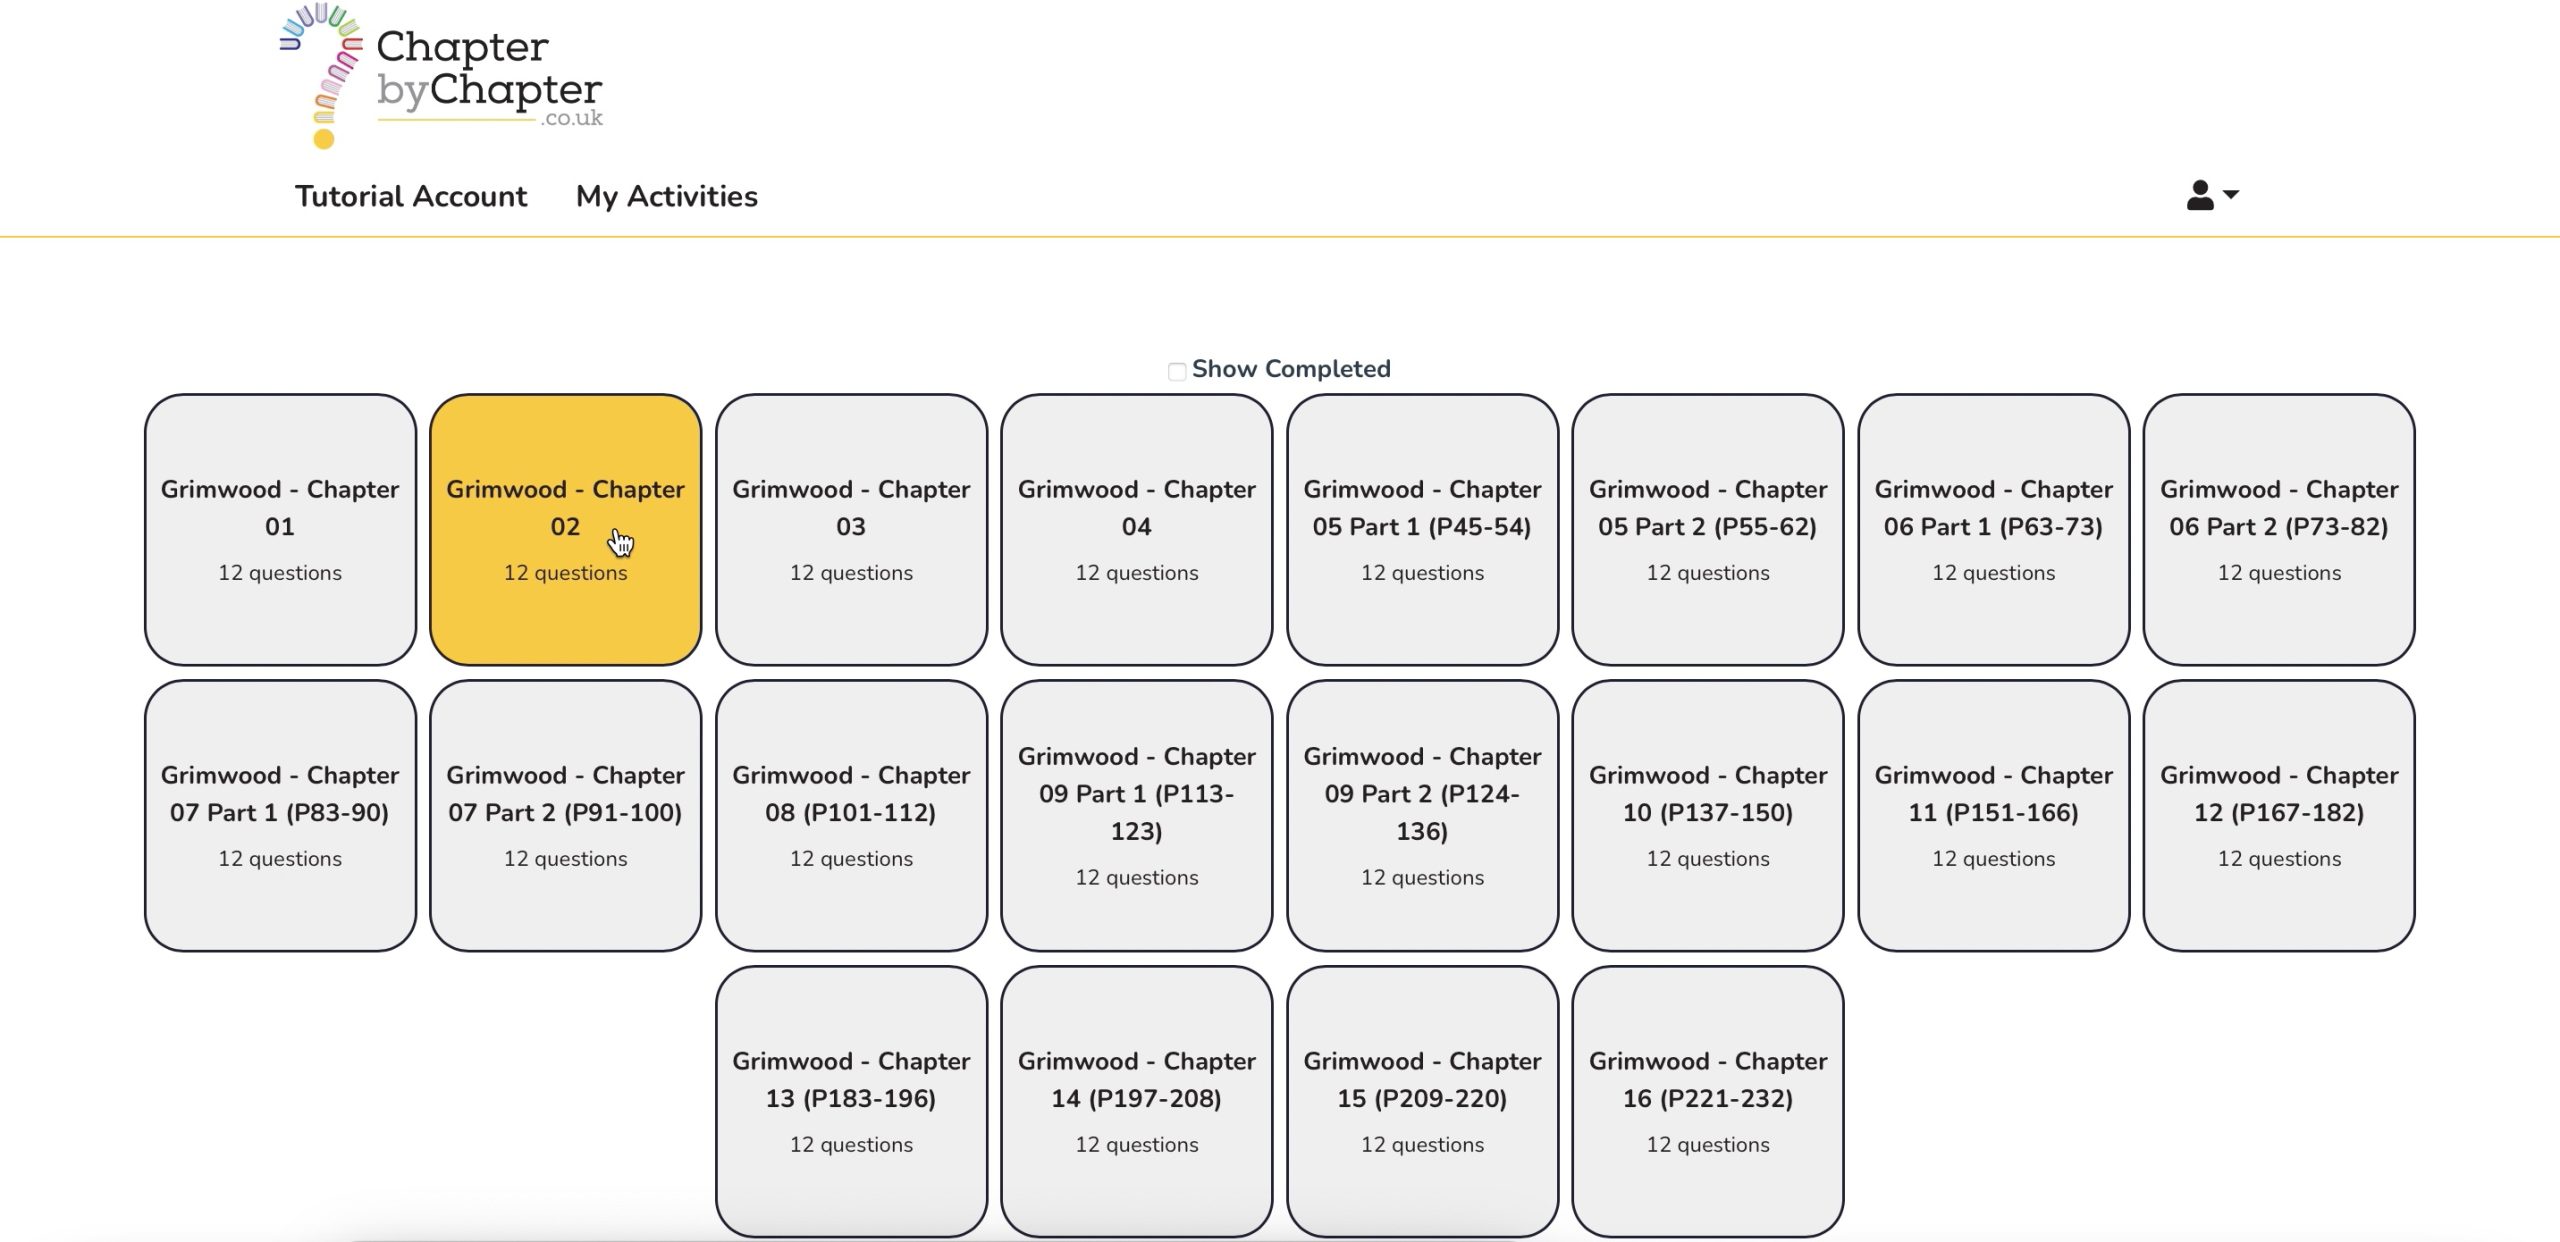
What do children see when they login?
This video clip shows exactly what your class will see when they login to their account.
We explore answering questions, having a second attempt, skipping questions and more.
They will only see the activities assigned to their accounts.

